
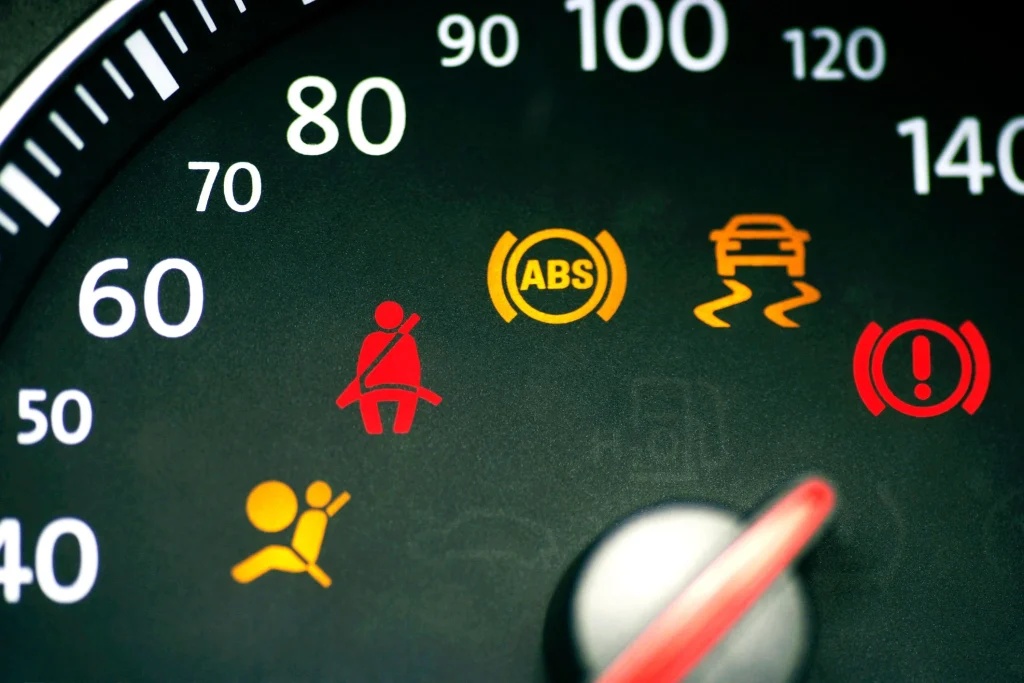
Understanding the Check Engine Light
When the check engine light illuminates on your dashboard, it signals that your vehicle’s onboard diagnostics system has detected an issue. These issues can range from minor to serious. The error codes are generated and stored in the vehicle’s computer system, making it easier to identify the problem. Clearing these codes is essential to ensure that you’re accurately addressing current issues, not just masking them.
Using an OBD-II Scanner: The Basics
An On-Board Diagnostics II (OBD-II) scanner is a crucial tool for diagnosing and clearing an error code. Most modern vehicles come with an OBD-II port located under the dashboard. To begin, plug the scanner into this port and turn on your vehicle. Follow the prompts on the scanner to read the stored error code. This will give you a better understanding of the issues detected by your vehicle’s computer system, enabling you to either fix the problems yourself or seek professional help.
Steps to Clear the Error Code
Once the issues causing the error code is resolved, you can proceed to clear them from the vehicle’s computer system using the OBD-II scanner. Here’s a step-by-step guide:
- Plug in the OBD-II scanner: Connect it to the vehicle’s OBD-II port while the engine is off.
- Turn on the ignition: Switch the vehicle to the “run” position without starting the engine.
- Read the error code: Navigate through the scanner’s menu to the option that reads the error.
- Clear an error code: Select the option to erase or clear codes. This will reset the vehicle’s computer system, turning off the check engine light.
Always remember that clearing codes is different from fixing the issue. Ensure you address the underlying problems to prevent future errors.
Disconnecting the Battery: Another Method
If an OBD-II scanner is not available, disconnecting the vehicle’s battery is another way to clear an error code. Here’s how to do it:
- Turn off the vehicle: Ensure the engine is off and the key is removed.
- Disconnect the battery: Use a wrench to remove the negative battery cable. Leave it disconnected for about 15 minutes.
- Reconnect the battery: Attach the negative battery cable back to the terminal.
By disconnecting the battery, you reset the vehicle’s computer system. Similar to using an OBD-II scanner, ensure that the underlying issue is resolved before relying on this method.
Clearing error codes is a manageable task with the right tools and knowledge. Whether using an OBD-II scanner or disconnecting the battery, always prioritize resolving the underlying issues. When in doubt, seeking professional help can ensure thorough and safe vehicle maintenance.